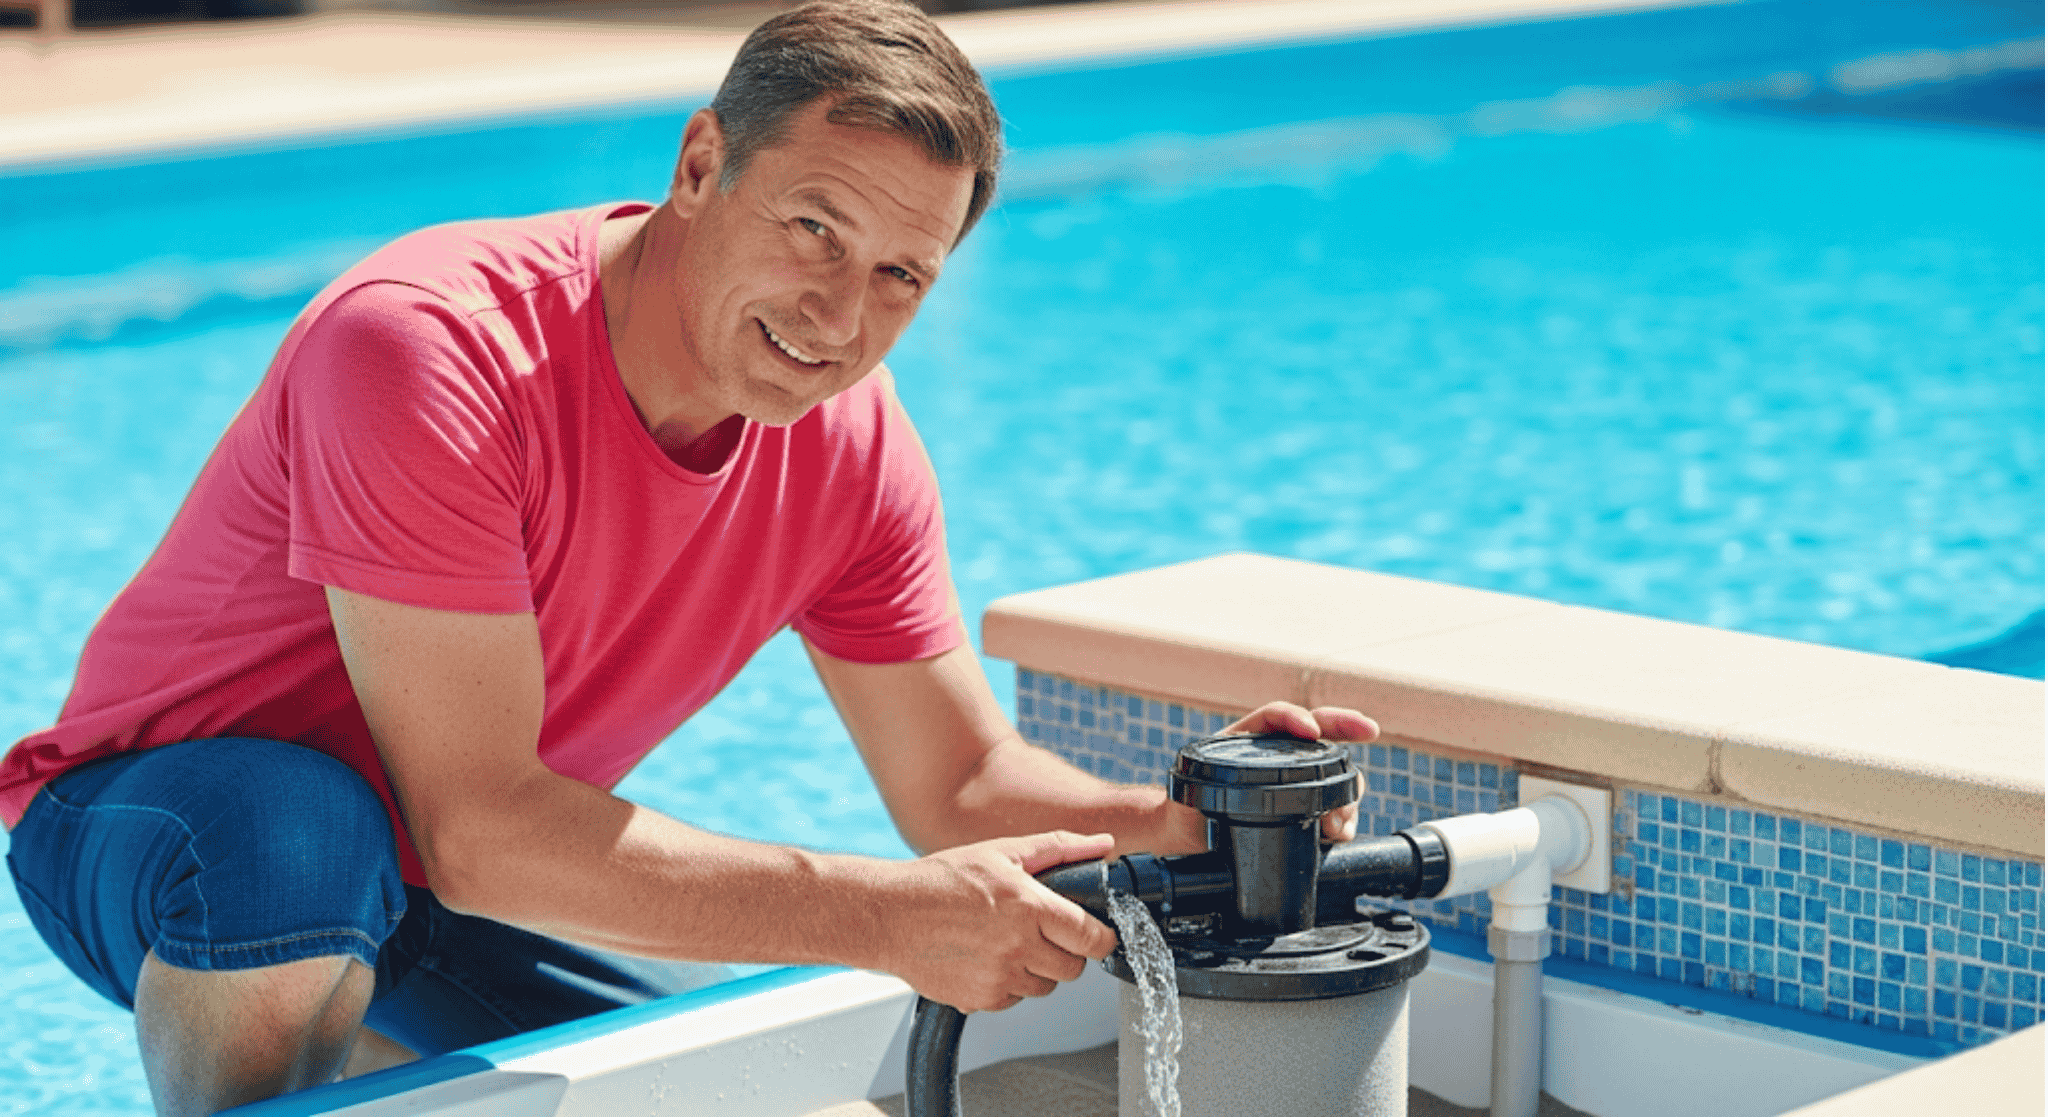
Hey there, fellow pool enthusiasts! Just picture this: the warm sun on your face, a gentle breeze rustling by, and the sparkling blue of your very own crystal-clear pool. Pretty perfect, right? Honestly, there’s nothing quite like jumping in for a refreshing swim after a long day, or just chilling by the water with a good book. But to truly enjoy that little piece of heaven, your pool has to be, well, spotless. And right at the heart of keeping it so perfectly clean is a real unsung hero: your pool’s sand filter.
This guide is going to walk you through exactly how to clean a sand filter for a pool so your water is always ready for a dip.
You can think of your sand filter as the tireless protector of your pool’s cleanliness. It’s always working away in the background, sifting out all that hidden grime and gunk that tries to sneak into your precious swimming spot. If your filter isn’t doing its job right, that inviting blue water can turn cloudy, green, or just plain yucky in no time. Knowing how to clean a sand filter for a pool is super important for keeping it running smoothly.
Now, why does keeping things so clean matter so much? Well, with all the splashing and fun, your pool faces a few challenges. We swim a lot, which means more sunscreen, more body oils, and just more of us enjoying the water! Plus, everyday environmental stuff like pollen, leaves, and tiny critters can somehow find their way into your pool. All these things add up, putting your filter through its paces. Keeping it clean isn’t just about looking good; it helps stop stubborn algae from taking over, makes sure the water is healthy and safe for everyone, and, huge bonus, it makes your filter work better and last longer. That means less hassle for you!
This guide is your complete playbook for becoming a pro at cleaning your pool’s sand filter. We’re going to dive deep into the ‘how-to,’ the ‘why,’ and even share some expert tips I’ve picked up along the way. By the time you’re done reading, you’ll be a sand filter cleaning whiz, ready to keep your pool sparkling bright all year long.
Understanding Your Sand Filter: A Quick Dip
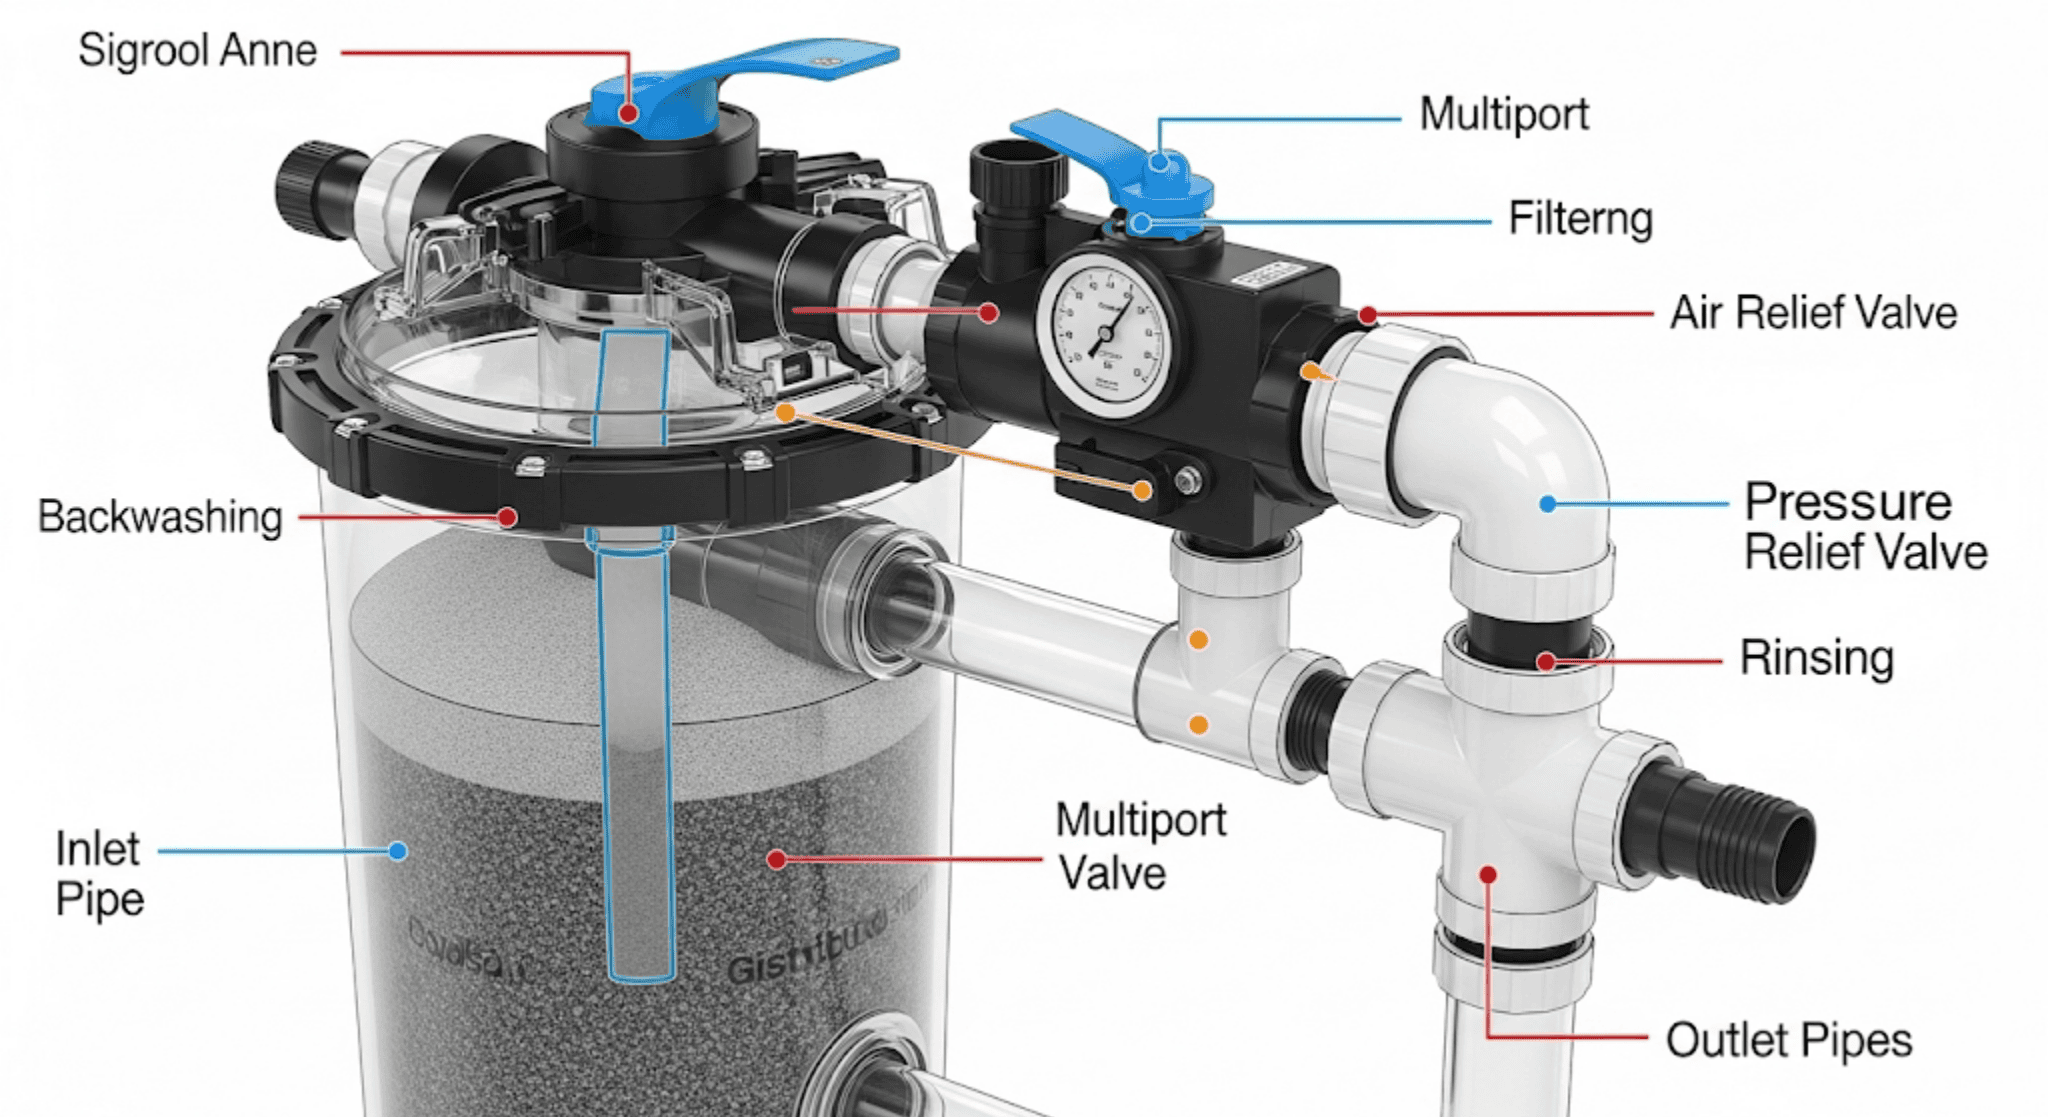
Before we actually get our hands dirty (or rather, clean!), let’s take a quick minute to understand what a sand filter actually is and how it pulls off its magic. It’s actually pretty clever in how simple it is. Picture a big, round tank filled with special filter sand—not just any old sand, mind you, but specifically graded silica sand.
When your pool pump is running, it sucks water from your pool and pushes it right into the top of this tank. As the water trickles down through all those layers of sand, the tiny, sharp edges on the sand particles grab microscopic bits of dirt, debris, algae spores, and other impurities. The clean, filtered water then gathers at the bottom of the tank and flows right back into your pool. It’s a constant loop, always working to keep your water fresh and inviting.
So, if it’s always filtering, why does it even get dirty? Well, even the hardest-working filter has its limits. Over time, all those trapped little bits and pieces start to build up inside the sand bed. Here are some common culprits that really contribute to this buildup:
- Organic Matter: Think leaves, pollen, everyday dust, tiny insects, and other natural bits that often float into your pool water. These organic materials can pile up in your filter pretty quickly.
- Swimmer Contaminants: We all love our sunscreen, body oils, lotions, and even hair products, especially when we’re enjoying the water! But these can leave behind residues that get caught in the sand. Over time, they can actually coat the sand particles, making them not as good at catching other dirt.
- Algae: Oh, algae – the bane of many a pool owner’s life! Algae spores are just always floating around in the air. Even if you keep your pool chemicals perfectly balanced, some spores will inevitably get into the filter. If they’re not flushed out regularly, they can start to multiply right inside the sand, which leads to cloudy water or even a greenish tint that just won’t go away.
- Minerals and Dissolved Solids: Depending on where your water comes from, you might also have minerals like calcium or iron floating around in your pool water. These can slowly settle out and get trapped in the filter sand. Sometimes, they can even form hard deposits that make the sand less efficient.
Understanding these common troublemakers helps you see why regular cleaning isn’t just another chore; it’s a crucial part of keeping your backyard paradise in great shape. It really makes it clear why knowing how to clean a sand filter for a pool is so important for tackling these issues head-on.
When Your Filter Needs a Clean-Up: Signs to Watch For
Your sand filter is actually pretty good at letting you know when it’s time for a little tender loving care, if you just know what to listen for. The single most important tool for this is your pressure gauge. That little dial on top or the side of your filter isn’t just there for looks; it’s basically your filter’s report card.
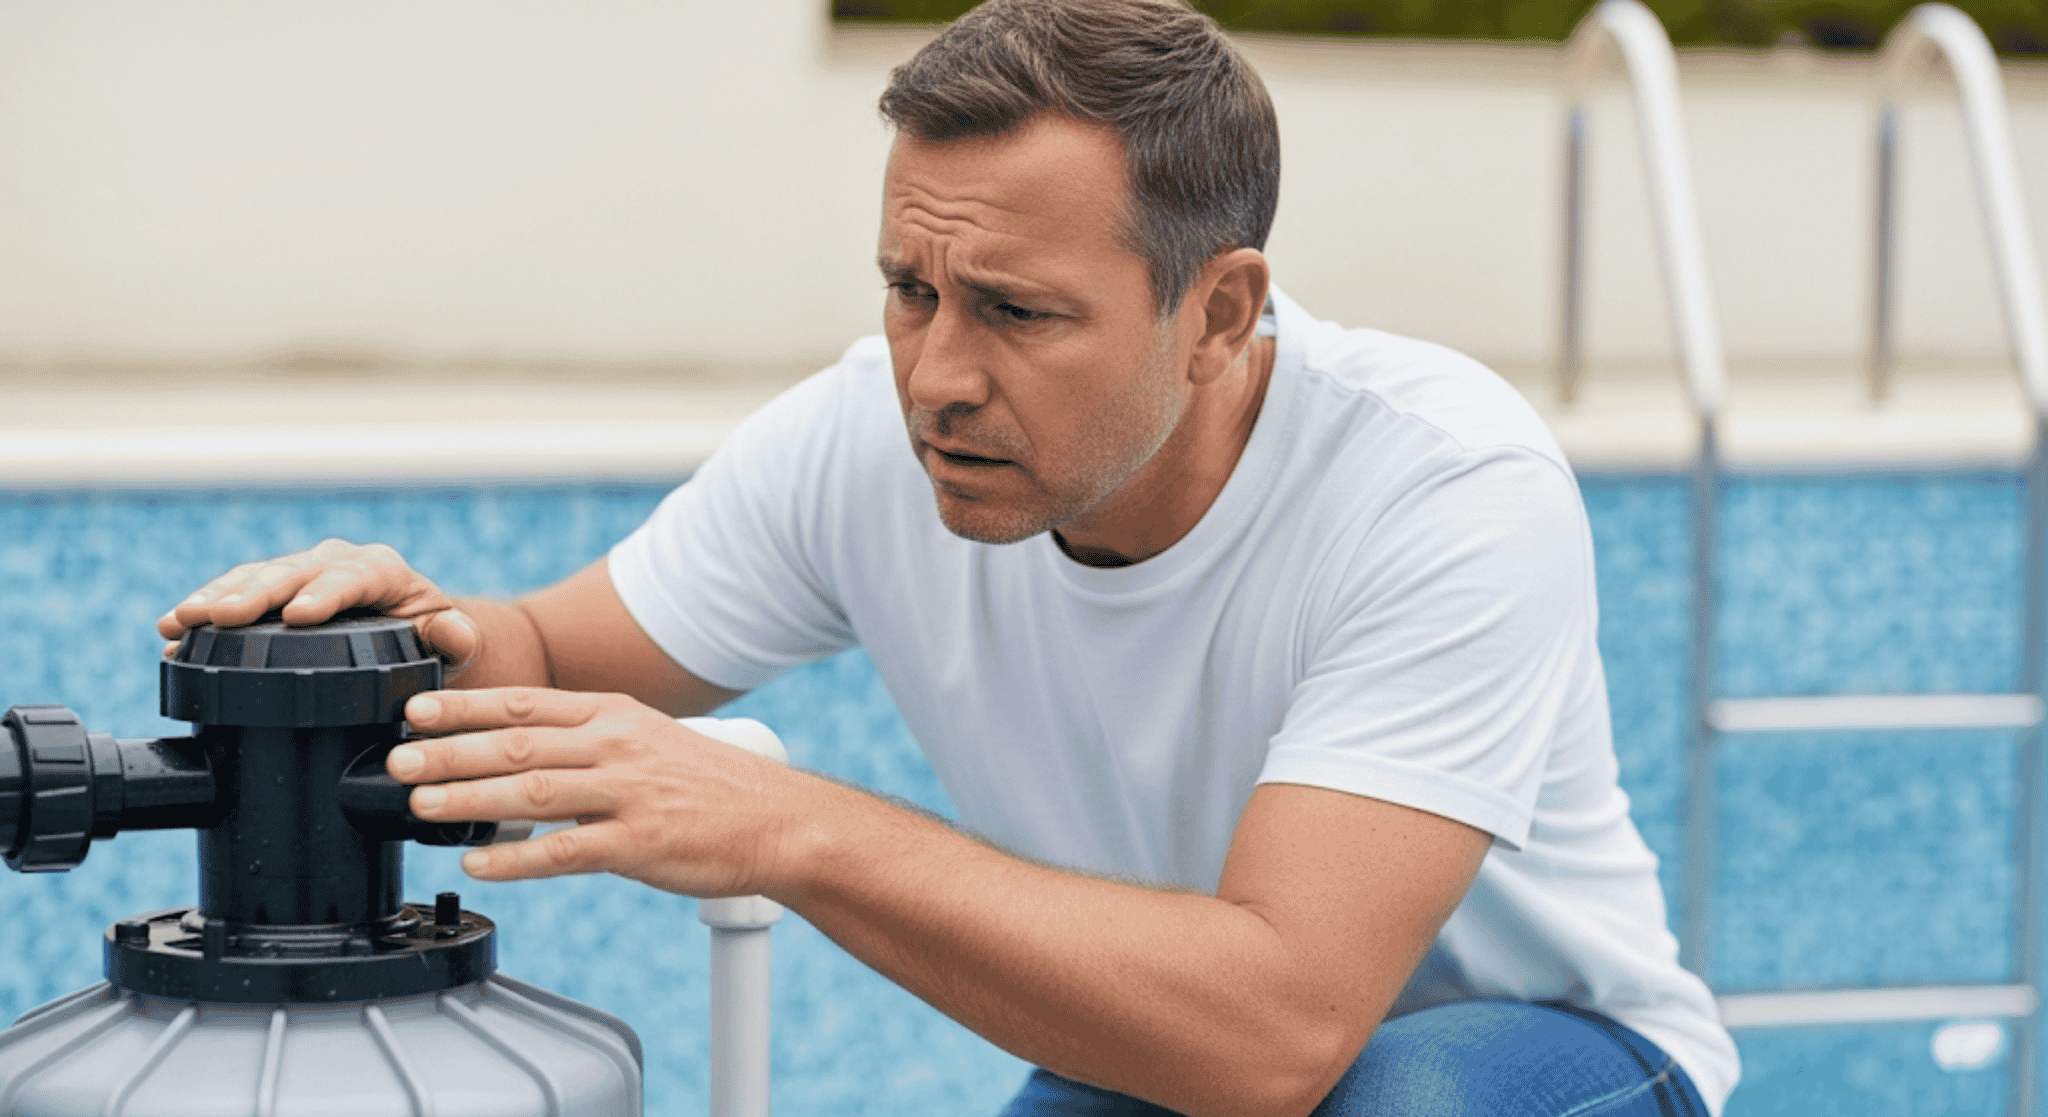
When your filter is sparkling clean and has just been backwashed, make a note of what the pressure reading on that gauge is. That’s your “clean” pressure. As your filter starts trapping more and more debris, the water has to work harder to push its way through the sand. This extra effort causes the pressure inside the tank to go up. A really good rule of thumb is that when your pressure gauge reads 8-10 PSI (pounds per square inch) above that clean pressure, it’s a clear signal: time to backwash!
Don’t let it climb much higher than that, or your filter just won’t work as well, and you might even put extra strain on your pump. This pressure jump is one of the main clues that you really need to learn how to clean a sand filter for a pool.
Beyond just the gauge, your pool itself will give you some pretty obvious hints that your filter needs attention:
- Cloudy or Murky Water: This is often the first thing you’ll notice. Even if all your pool chemicals (like chlorine, pH, and alkalinity) are perfectly balanced, if the water looks hazy or dull, it’s a strong sign that your filter isn’t doing its job efficiently. It’s simply too clogged to remove the tiny bits that are making it cloudy.
- Reduced Water Flow from Return Jets: Take a peek at the jets where clean water flows back into your pool. Is the water coming out weaker than it usually does? If the flow isn’t as strong as it should be, it means your filter is blocking the water, which is a clear signal it needs a cleaning.
- Visible Debris Escaping Back into the Pool: Now, this is a more serious sign. If you start seeing tiny pieces of dirt, sand, or other debris actually being pushed back into your pool from the return jets, it means your filter sand is either completely full or it’s developed “channels” (these are like easy paths for water to just bypass the filter). This definitely means you need to act right away and get a refresher on how to clean a sand filter for a pool.
Really pay attention to these signs. During busy swimming seasons or after big rainstorms or windy days, your filter will load up much faster. So, while you might usually backwash every couple of weeks, you might find yourself needing to do it weekly or even more often during these times to keep your pool truly sparkling. Your pool will tell you what it needs—just keep an eye on it!
Method 1: The Essential Backwash (Your Regular Routine) – How to Clean a Sand Filter for a Pool
Alright, this is your go-to move, your most common and really essential way to clean a sand filter: backwashing. It might sound a bit technical, but trust me, it’s actually pretty simple once you get the hang of it. Backwashing basically means reversing the flow of water through your filter. Instead of pushing water down through the sand to clean it, you push water up through the sand.
This lifts and shakes up the whole sand bed, which knocks loose all the trapped dirt and debris. That gunk then gets flushed out through a separate waste pipe. It’s like giving your filter a really good, vigorous shake and rinse! This is the main approach for how to clean a sand filter for a pool on a regular basis.
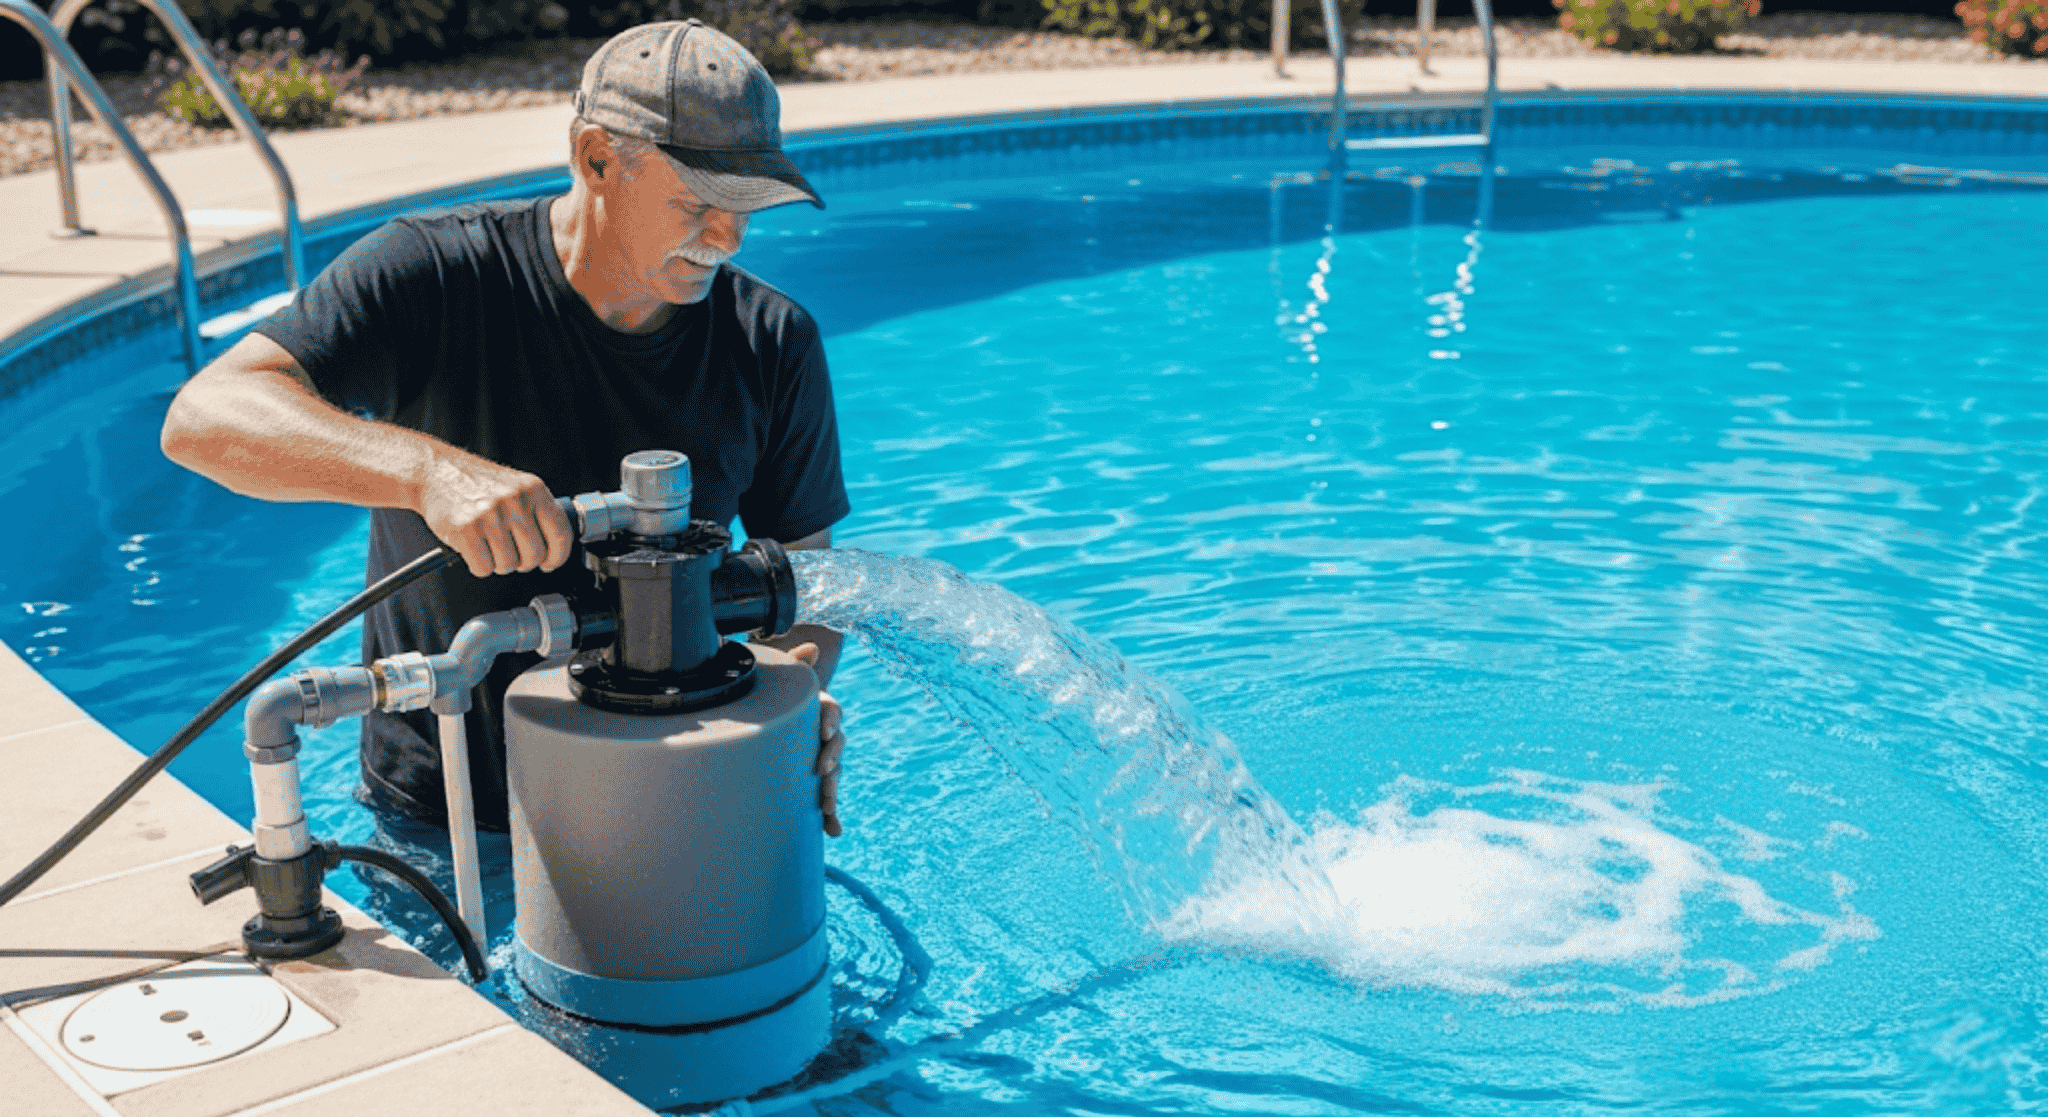
Here’s your straightforward, step-by-step guide to doing an effective backwash:
- Safety First: Turn Off the Pool Pump COMPLETELY. This is non-negotiable! Seriously, never, ever try to move that multi-port valve handle while your pump is running. Doing that can cause some serious damage to the parts inside the valve, leading to really expensive repairs. So, find that pump switch and make sure it’s off. You might even want to flip the circuit breaker just to be extra safe, especially if you’re new to this.
- Position the Valve: Set the Multi-Port Valve to “Backwash.” Your multi-port valve is that big handle on top or the side of your filter, and it has different settings. Find the “Backwash” setting and firmly push down on the handle (if it’s a push/pull type) or rotate it (if it’s a lever type) until it clicks securely into the “Backwash” position. Just make sure it’s fully engaged.
- Open the Waste Line: Get Ready for Dirty Water. Okay, now you need to make sure all that dirty water has somewhere to go. If you’ve got a permanent waste pipe hooked up to your drainage system, just make sure its valve is open. More often, you’ll have a flexible hose for backwashing that you attach to the waste port on your multi-port valve. Unroll this hose and point it towards a good drainage spot—maybe a storm drain, a gravel area, or a grassy part of your yard away from your house or your neighbor’s property. Remember, this water is going to be dirty, so choose your spot wisely!
- Start the Pump: Let the Flushing Begin! With the valve all set to “Backwash” and your waste line ready, go ahead and turn your pool pump back on. You’ll immediately hear the water gushing out through the backwash hose or waste pipe.
- Watch the Sight Glass: Observe Until Clear. Near your multi-port valve, you’ll see a small, clear glass dome or a tube called a “sight glass.” As the water backwashes, you’ll actually see it flowing through this glass. At first, it’ll probably look cloudy, murky, or even brownish—that’s all the gunk being flushed out! Keep the pump running and keep watching the water in that sight glass. Continue backwashing until the water flowing through it becomes completely clear. This usually takes anywhere from 1 to 3 minutes, but it can be a bit longer depending on just how dirty your filter is. Don’t stop too soon!
- Stop the Pump: Crucial Before Moving the Valve. Once the water in the sight glass is perfectly clear, turn off your pool pump again. Just like before, seriously, never move that multi-port valve while the pump is running.
- Rinse Cycle: Settle the Sand. This step often gets overlooked, but it’s really, really important! After backwashing, the sand inside your filter is all churned up and unsettled. If you just switch straight back to “Filter” mode, some of that unsettled sand could actually get pushed back into your pool. To stop this from happening, set your multi-port valve to “Rinse.” Then, turn the pump back on for about 30-60 seconds. This “rinsing” action helps the sand bed settle back down and compact itself without sending dirty water into your pool. You’ll see water flowing through the sight glass again, but it should be clear.
- Stop the Pump: One Last Time. Turn off the pump after the rinse cycle is all done.
- Return to Filter: Ready for Action. Now, carefully move your multi-port valve handle back to the “Filter” position. This is the normal operating mode for your pool.
- Restart Pump: Check the New Pressure. Turn your pump back on. Go take a look at your pressure gauge. It should now be back to your “clean” pressure reading, or at least very close to it. If it’s still high, you might need to repeat the backwash and rinse cycle.
Pro Tip: For pools in warmer areas or those that get a lot of use, you’ll probably find yourself backwashing more often than someone in a colder spot. While general advice might say to backwash every couple of weeks, you might need to do it weekly or even every other week during busy swimming seasons or after those really windy days. Just pay attention to your pressure gauge and how clear your water is, and don’t hesitate to backwash more if it seems necessary. It’s a small effort that makes a huge difference in keeping your pool sparkling! This consistent backwashing is a key part of how to clean a sand filter for a pool.
Method 2: The Deep Clean (Chemical Treatment for Stubborn Grime) – How to Clean a Sand Filter for a Pool
While regular backwashing is absolutely fantastic for flushing out everyday dirt and debris, sometimes it just isn’t quite enough. Over time, really stubborn contaminants like embedded oils from sunscreen and lotions, mineral deposits (especially if you have hard water), and even persistent algae can really build up inside the sand bed itself. These substances can actually coat the sand particles, making them not as good at filtering, and they can even cause the sand to clump together or create “channels”—which are basically easy paths for water to just bypass the filter, leaving it unclean.
When backwashing doesn’t seem to bring your pressure down, or your water stays stubbornly cloudy despite having perfectly balanced chemicals, that’s when it’s time for a “deep clean” using a chemical treatment. This advanced step in how to clean a sand filter for a pool is specifically designed to tackle those tougher problems.
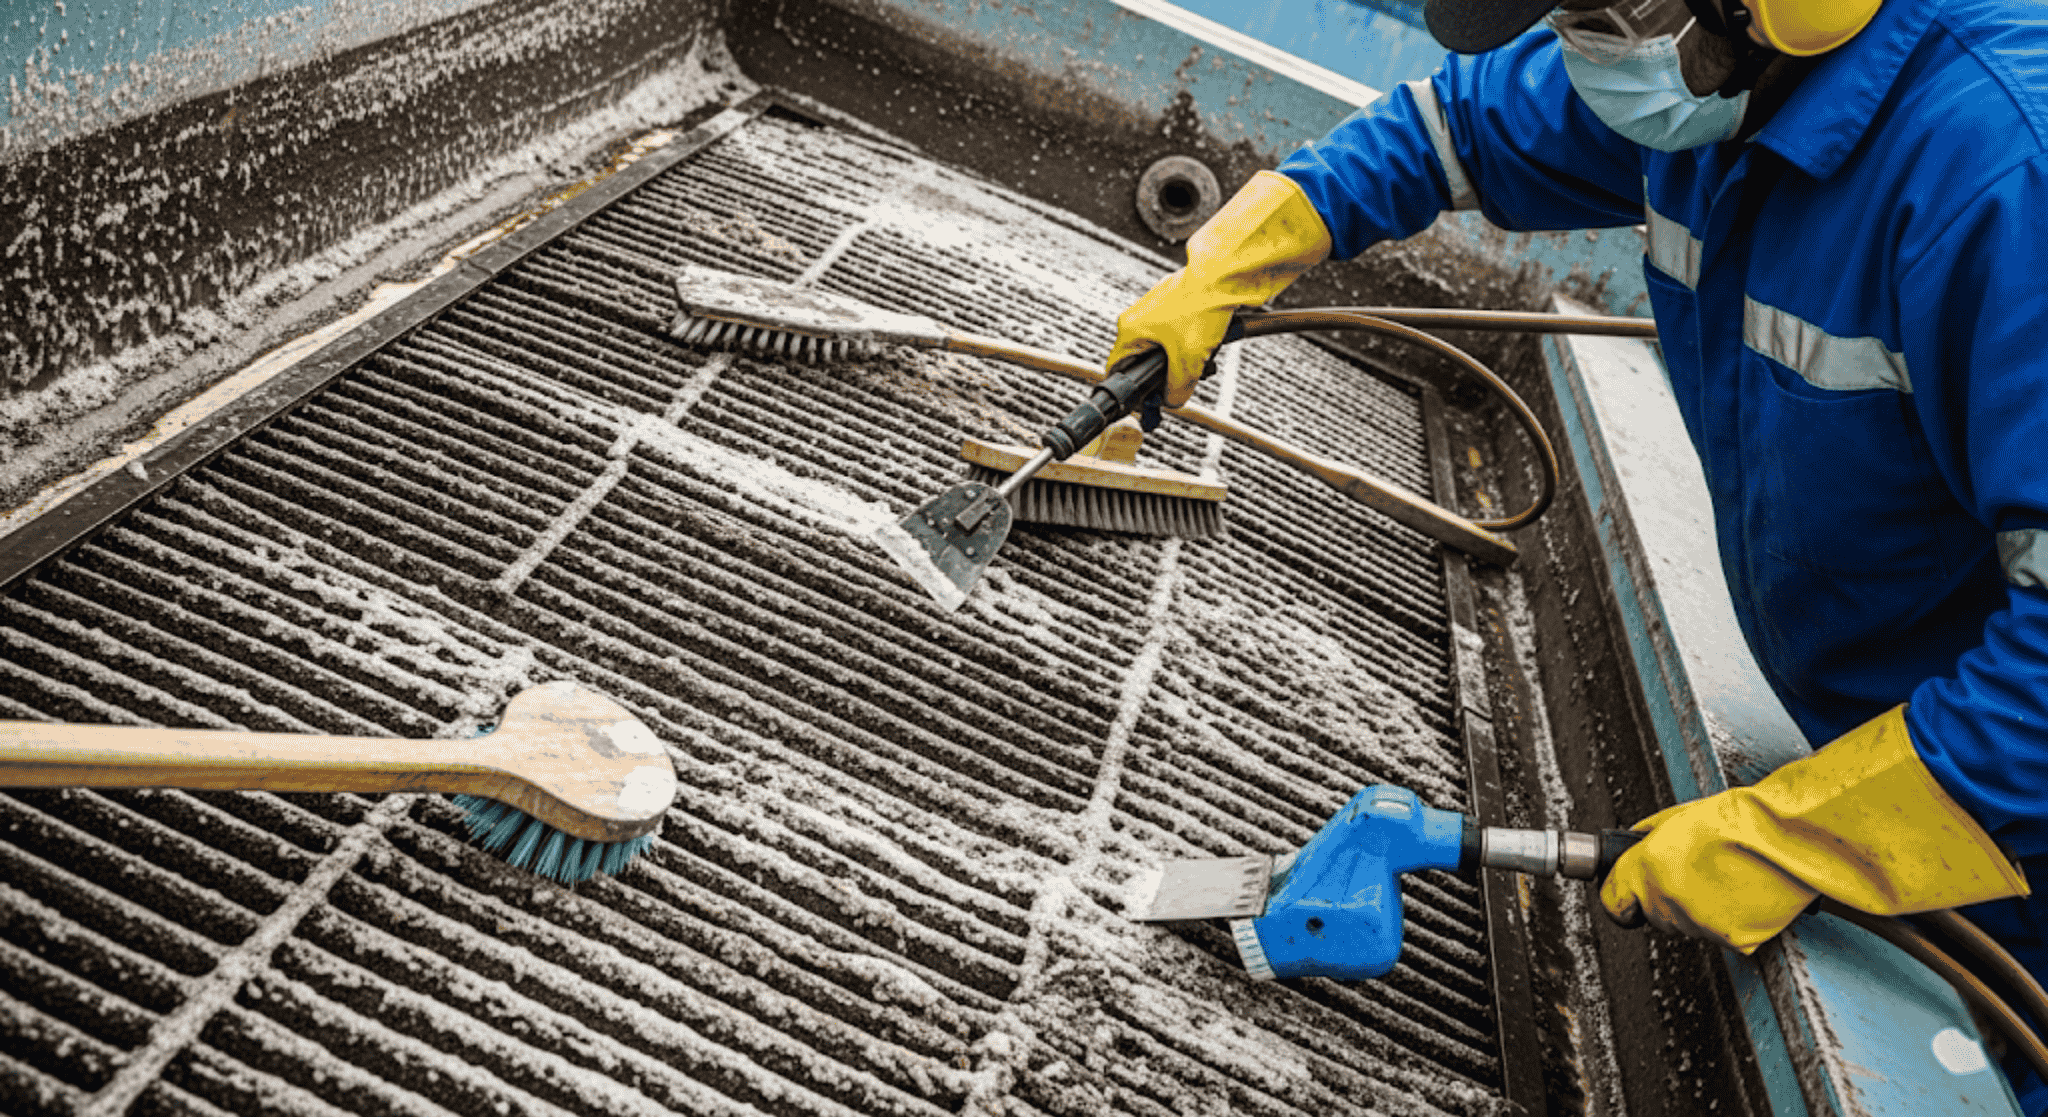
Why Deep Clean? Think of it like this: backwashing is kind of like rinsing your hair, but a deep clean is more like using a clarifying shampoo to really strip away all the product buildup and truly cleanse your scalp. It literally brings the sand back to life, giving it back its full filtering power.
When to Deep Clean: It’s a really good practice to deep clean your sand filter at least once a year, maybe at the start of your busiest swimming season. You should also definitely consider a deep clean if:
- Your pool water stays cloudy even after you’ve done a thorough backwash and balanced all your chemicals.
- Your filter pressure doesn’t drop much at all after backwashing.
- You’re constantly fighting off annoying algae blooms.
What You’ll Need:
- Commercial Sand Filter Cleaner: You’ll find these at your local pool supply store. They usually come in two main types:
- Acid-based cleaners: These are excellent for breaking down mineral deposits (like calcium scale) and rust stains.
- Enzyme-based cleaners: These are fantastic for dissolving organic stuff like oils, lotions, and dead algae. You might even find “all-in-one” cleaners that are designed to handle both.
- Bucket and Measuring Cup: For safely mixing and putting in the cleaner.
- Safety Gear: ALWAYS wear chemical-resistant gloves and eye protection (safety glasses or goggles) when you’re handling any pool chemicals. It’s also a smart idea to wear old clothes you don’t mind getting stained.
Step-by-Step Deep Cleaning Process:
- Pre-Clean: Backwash First. Before you even think about adding any cleaner, give your filter a good, thorough backwash and rinse cycle, just like we talked about in Method 1. This clears out all the loose dirt, which lets the chemical cleaner work much better on the really stuck-on grime.
- Turn Off Pump: Make Sure It’s Off. Just like with backwashing, safety is absolutely key! Be completely sure your pool pump is fully turned off before you do anything else.
- Prepare for Cleaning: Isolate the Filter. This part might be a tiny bit different depending on your pool’s specific setup, but the main goal is to keep the cleaner concentrated right inside the sand bed.
- Close any valves going to the pool: This stops the cleaner from flowing back into your pool. You might have valves on your return lines or skimmer lines that you can close.
- Open the air relief valve on the filter: This little valve (usually on top of the filter) lets air out as you add the cleaner, which stops any air pockets from forming.
- Drain some water (check product instructions): Some cleaners work best if you lower the water level slightly in the filter, as this makes the cleaning solution more concentrated. There’s usually a drain plug at the bottom of the filter tank. Always, always read the specific instructions on your chosen filter cleaner product, as some are actually designed to be poured into the skimmer while the pump runs briefly.
- Add Cleaner: Pour Carefully. This is the crucial step.
- For cleaners added directly to the filter: With the pump off and the filter isolated, carefully pour the recommended amount of filter cleaner directly into the filter’s standpipe (that’s the middle pipe inside the filter, usually reached by taking off the multi-port valve or a small cap, if your filter design allows this easily). If not, you might slowly pour it into the skimmer while briefly turning on the pump to draw it into the filter, then immediately turn the pump off. Always follow the exact instructions on your chosen filter cleaner product. They’ll tell you precisely how much to use and how to apply it.
- For cleaners added via skimmer: Some cleaners will tell you to add them to the skimmer while the pump runs for just a very short time (like 30 seconds) to pull the chemical into the filter, and then you immediately shut off the pump.
- Soak Time: Let the Magic Happen. Once the cleaner is in the filter, let it sit there for the recommended amount of time. This soaking is vital for the chemicals to really break down those tough contaminants. Many products suggest soaking overnight for the very best results, giving the cleaner plenty of time to work its way through the sand.
- Post-Soak Backwash: Flush It All Out. After the soaking period is over, it’s time to flush out all that dissolved grime. Re-open any valves you closed in step 3. Then, perform a thorough backwash cycle (just like we covered in Method 1) until the water running through the sight glass is completely clear. This might take a bit longer than a normal backwash, simply because you’re flushing out more concentrated dirt.
- Rinse & Resume: Back to Filtering. Finish up with a rinse cycle (30-60 seconds), then turn off the pump, set the valve back to “Filter,” and restart your pump. Your pressure gauge should now show a much lower reading, which is a good sign that your sand is much, much cleaner.
Pro Tip: Since many pools get a lot of use with sunscreen and body oils, and algae can be a persistent headache in warm weather, enzyme-based cleaners are really effective. They do an amazing job breaking down those greasy residues that can quickly foul up your sand. If you happen to live in an area with hard water, or you notice white, crusty buildup on your pool equipment, a mineral-specific (acid-based) cleaner should definitely be part of your yearly deep cleaning routine too. Using both types, or an all-in-one product, can be incredibly helpful. This complete approach is key to how to clean a sand filter for a pool no matter where you live.
When to Consider a “Sand Change” (The Ultimate Reset)
Even with all your hard work backwashing and deep cleaning, there comes a time when your sand filter just needs the biggest refresh of all: a complete sand change. While cleaning helps bring the existing sand back to life, the sand itself doesn’t actually last forever. After many years of use, the tiny, sharp edges of the sand particles—which are what grab all the debris—can become rounded and smooth.
When that happens, they’re just not as good at filtering, no matter how clean they are. Plus, really bad mineral buildup or persistent channeling (where water creates easy paths right through the sand, completely skipping the filtering process) can make cleaning efforts totally useless. When you’ve tried everything else you know about how to clean a sand filter for a pool, changing the sand is the very next step.
Beyond Cleaning: If you’re constantly battling cloudy water, even after doing your backwashes and deep cleans, or if your pressure gauge readings are acting strange and jumping around, or you’re actually seeing little bits of sand blowing back into your pool, these are strong signals that your filter sand has simply reached the end of its useful life. Typically, pool filter sand lasts about 5 to 7 years, but in pools with heavy use, or lots of organic matter and sunscreen, it might need replacing a bit sooner.
Signs Your Sand Needs Replacing:
- Persistent Cloudy Water: This is the most common clue. If your water stays cloudy even after you’ve balanced all your chemicals, backwashed, and even done a deep clean, your sand is very likely no longer filtering effectively.
- Very Short Backwash Cycles: If the water in your sight glass clears almost immediately during a backwash, it could mean the sand is so clogged or channeled that water is literally just rushing right through without properly cleaning the filter bed.
- Sand in the Pool: This is a definite, unmistakable sign. If you see sand gathering at the bottom of your pool or being blown in from the return jets, it means either your filter’s inside parts (like the laterals at the bottom of the tank) might be broken, or the sand bed is so compromised that it’s letting sand escape.
Professional Help: Replacing the sand in your filter is a much bigger job than a simple backwash or deep clean. It means draining the filter tank, carefully removing all that old sand (which, trust me, can be heavy!), inspecting the internal components, and then carefully adding new, correctly graded filter sand. While some folks are definitely handy enough to do this themselves, it’s often best to just leave it to a pool professional.
They have the right tools, the know-how, and the experience to make sure the job is done perfectly, which prevents damage to your filter and ensures that your fresh sand works at its very best. Don’t hesitate to give the pros a call for this ultimate reset when you’ve tried everything else on how to clean a sand filter for a pool.
Troubleshooting Common Sand Filter Issues
Even with all your best intentions and regular cleaning, your sand filter might occasionally throw you a curveball. Don’t worry, though, many common problems have pretty straightforward solutions. Here are a few you might run into and how to tackle them, even after you’ve learned how to clean a sand filter for a pool:
Water Still Cloudy After Cleaning?
- Check Chemical Balance: This is always, always the first thing to do. Seriously, even a perfectly clean filter can’t make up for water chemistry that’s out of whack. Test your pH, alkalinity, chlorine, and stabilizer levels. Imbalances can cause cloudy water or stop your chlorine from working right.
- Circulation Issues: Is your pump running long enough? Most pools need to filter water for 8-12 hours a day. Also, check for anything blocking your skimmer baskets or pump baskets; that can slow down the water flow.
- Consider a Deep Clean/Sand Replacement: If your chemicals and circulation are spot on, and you’ve already backwashed, then it’s time to think about a chemical deep clean (Method 2) or, if your sand is really old, a complete sand change (Method 3). Tiny particles might just be slipping through the sand.
- Flocculant or Clarifier: For those super tiny suspended particles that your filter just can’t catch, you can use a pool flocculant (which makes the particles clump together so they sink and you can vacuum them out to waste) or a clarifier (which makes the particles clump so your filter can catch them).
Pressure Not Dropping After Backwash?
- Insufficient Backwashing: Did you actually backwash long enough? Remember to keep watching that sight glass until the water is completely clear, not just mostly clear.
- Calcification or Channeling: This is a strong hint that your sand is either covered in mineral deposits or has developed permanent pathways. A chemical deep clean (Method 2) is the next thing to try. If that doesn’t work, then a sand change is very likely what you need.
- Broken Laterals: This is less common, but sometimes those small “fingers” at the bottom of the filter tank (called laterals) can break. If this happens, sand can actually get into the pool, and the filter won’t backwash properly. This definitely needs a professional repair or replacement.
Persistent Algae (Even After Cleaning Filter)?
- Fix Chemical Balance First: Algae just loves unbalanced water, especially if your chlorine is low or your pH is high. Shock your pool, balance your chemicals, and brush all pool surfaces really thoroughly.
- Circulation is Key: Make sure your pump is running for enough hours each day to move all the water through the filter multiple times.
- Consider Algaecides: You can use an appropriate algaecide as a preventative measure or for treatment, but always deal with the underlying chemical imbalance and filtration problems first.
- Deep Clean the Filter: Algae spores can actually live in the filter sand. A deep clean with an enzyme-based cleaner or a specific filter cleaning product designed for algae can really help get rid of them from the sand bed.
Remember, figuring out problems is kind of a process of elimination. Just start with the simplest solutions first and work your way up.
Maintaining Your Pool Paradise: Pro Tips
Keeping your pool in fantastic shape isn’t just about reacting when problems pop up; it’s really about being proactive. By adding a few “pro tips” into your regular routine, you can seriously cut down on issues and make sure your pool is always ready for a refreshing dip. These tips will perfectly complement everything you’ve learned about how to clean a sand filter for a pool.
- Consistent Backwashing Schedule: Don’t just wait until your pressure gauge is screaming in the red zone. Set up a regular backwashing schedule based on how much you use your pool and what your local environment is like. For most pools, this means weekly or every other week backwashing during busy seasons, and maybe every 3-4 weeks during slower times. Being consistent prevents too much buildup and keeps your filter working at its best. Trust me, it’s way easier to do a quick, regular backwash than to deal with a seriously clogged filter.
- Monitor Water Chemistry Religiously: I really can’t stress this enough. A clean filter works best when your water is balanced. Test your pool water at least 2-3 times a week (even more often if it’s used a lot or after heavy rain). Pay super close attention to:
- Chlorine: This is your sanitizer, absolutely crucial for killing bacteria and algae.
- pH: This affects how well your chlorine works and how comfortable swimmers are.
- Alkalinity: This acts as a buffer for your pH, helping to keep it stable.
- Cyanuric Acid (CYA) / Stabilizer: This protects your chlorine from the sun’s harsh rays.(Getting these chemical levels right prevents algae, scale buildup, and corrosion, all of which can mess with your filter’s performance.)
- Skim and Vacuum Regularly: This is your very first line of defense! The less debris that actually makes it to your filter, the less work your filter has to do. Skim leaves, bugs, and other floating bits off the surface daily. Vacuum your pool at least once a week, or more often if you have lots of trees nearby. This gets rid of bigger particles before they can get stuck in your filter sand.
- Consider a Pool Cover: A pool cover (even a simple solar cover) can be a total game-changer. It dramatically cuts down on the amount of leaves, dust, and other stuff that falls into your pool, which significantly lightens the load on your filter. Plus, it helps keep the heat in and reduces how much water evaporates, saving you money on water and energy!
- Regular Professional Check-ups: Even if you’re a fantastic DIYer, think about having a professional pool technician give your system a thorough check-up at least once a year. They can spot potential issues you might miss, inspect the inside parts of your filter, and offer expert advice tailored to your specific pool and environment. This can actually save you from bigger, more expensive problems down the line. Think of it like a yearly wellness check for your pool!
Enjoy Your Crystal-Clear Waters!
So, there you have it! The big secret to having a consistently sparkling pool isn’t really a secret at all—it’s all about consistent, thoughtful care, and truly understanding that workhorse, your sand filter. From those regular backwashes that flush out daily grime to the occasional deep clean that brings your sand back to life, and knowing exactly when it’s time for a complete sand change, you now have all the knowledge and confidence for how to clean a sand filter for a pool and keep your water inviting and healthy.
A clean sand filter is honestly the key to a truly beautiful, healthy pool. It makes sure that every single time you look out at your backyard oasis, you see nothing but crystal-clear, inviting water, just waiting for endless hours of fun. So, go ahead, dive in! You’ve absolutely earned it.
We really hope this guide empowers you to take full control of your pool’s cleanliness. Do you have any special pool tips or tricks you’ve picked up along the way? Share them in the comments below—we’d genuinely love to hear from you! Happy swimming!


